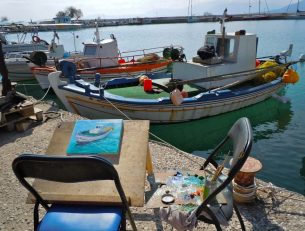


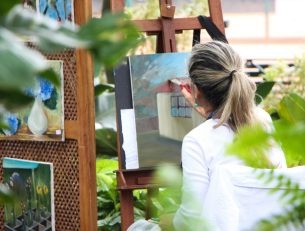
This week, we’ve been speaking to Cheryl, our painting holiday host over in the Algarve. Usually, she runs painting holidays from her stunning house nestled gently in hills of Southern Portugal, but she’s missing everyone terribly. Still she wants to share her skills and her knowledge in any way she can!
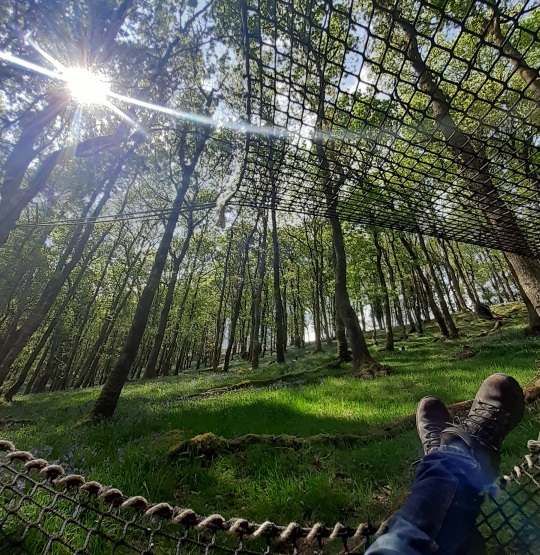
With spending so much time in doors at the moment, it’s important to have a bit of a creative outlet. And with summer very much on its way, we’re all itching to get outside and enjoy the natural scenery a bit as well.
This isolation activity will show you how to paint a blossoming tree. It’s a great way to get the creative juices flowing during lockdown, and it can also help you reconnect with the nature around you, especially if you’re spending most of your time indoors.
It’s a simple technique and great for painters of all ages and ability levels.
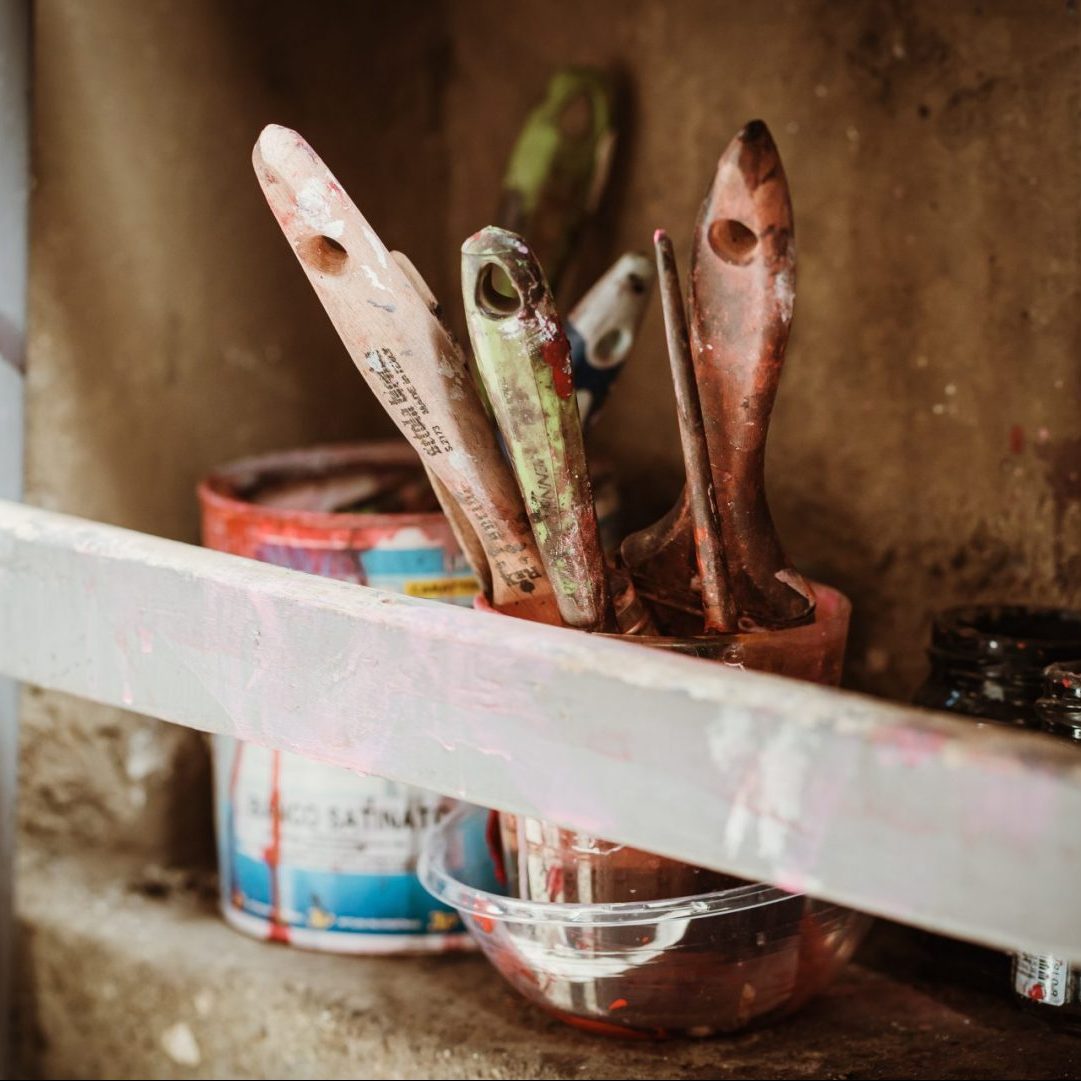
You will need…
- – 2 paint brushes of various thickness
- – Watercolour or acrylic paints: deep red, white, pink (red + white), ochre yellow
- – Watercolour paper or canvas
- – Black ink
- – 1 large sheet of waxed baking paper scrunched into a ball
- – Cheryl used a sheet of canvas and acrylic paints
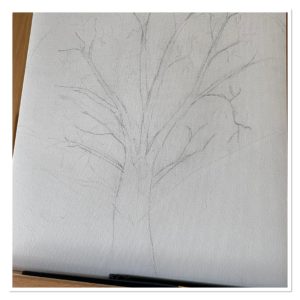
Step 1
Sketch your favourite tree in pencil. You don’t need to be too precise with this – you can try to draw a real tree you can see in your garden or out of your window, or just sketch one from your imagination.
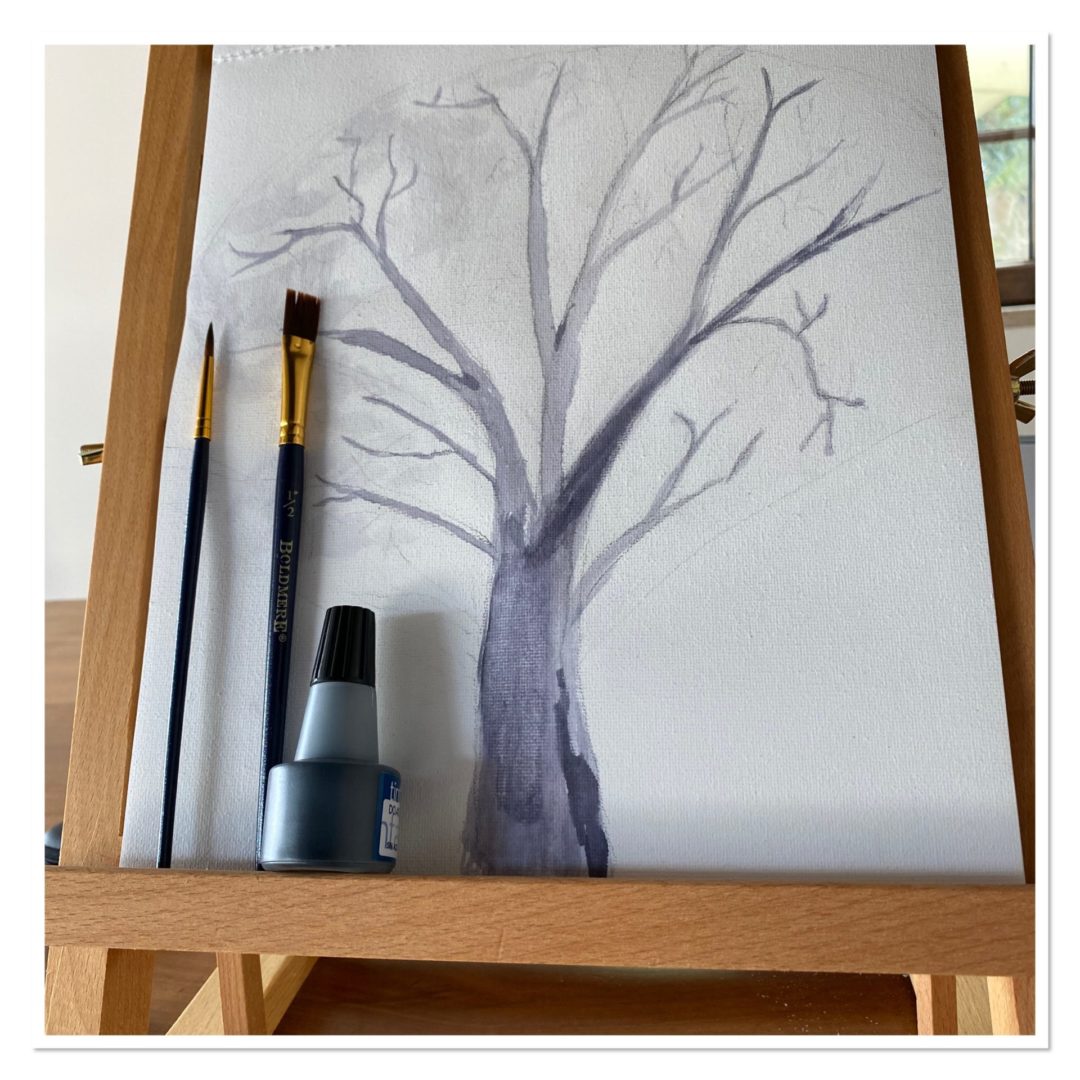
Step 2
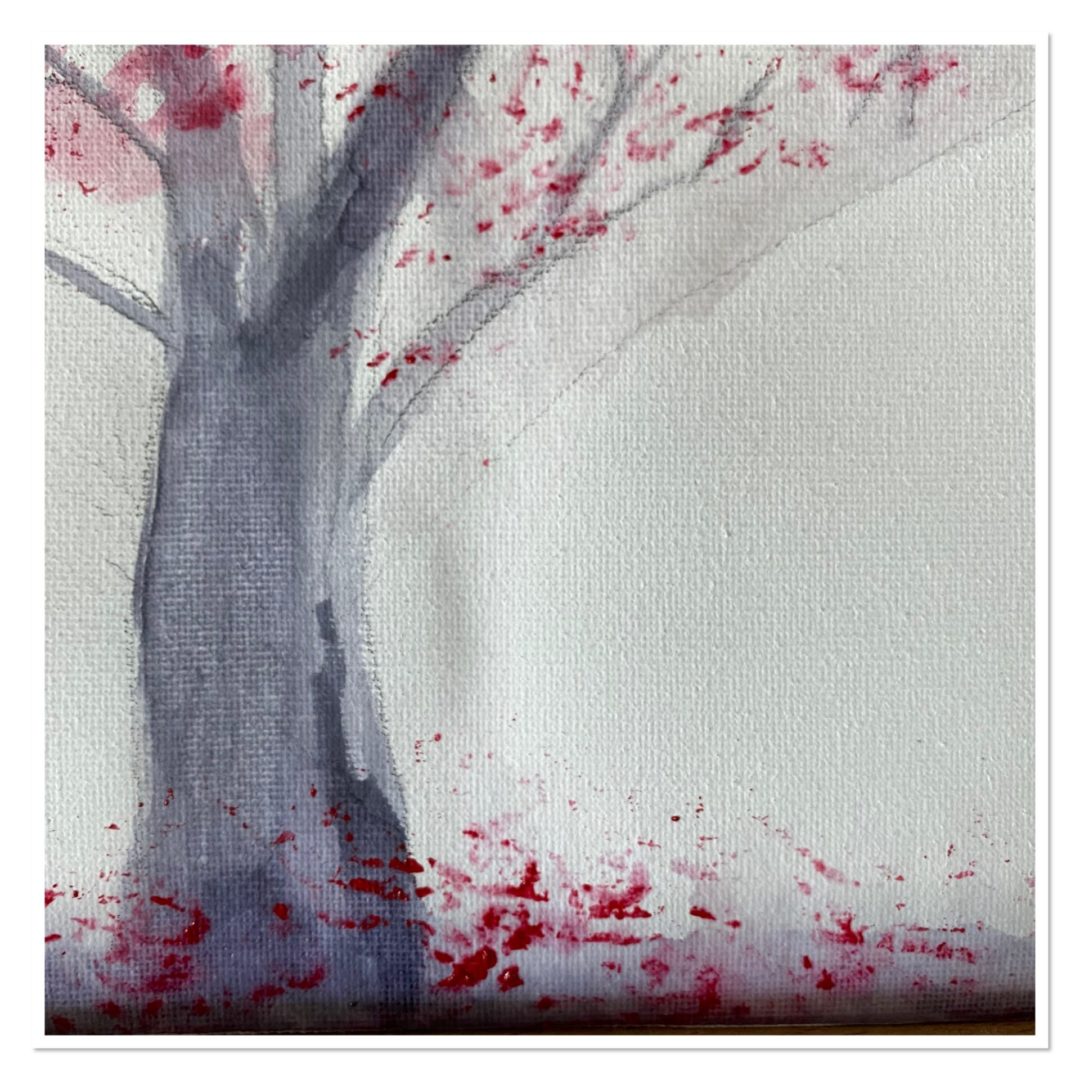
Paint your tree using a tiny drop of ink mixed with plenty of water. This is just to make sure all the branches really stand out! If you use too much ink, you can remove the excess ink by blotting it with a paper towel.
Step 3
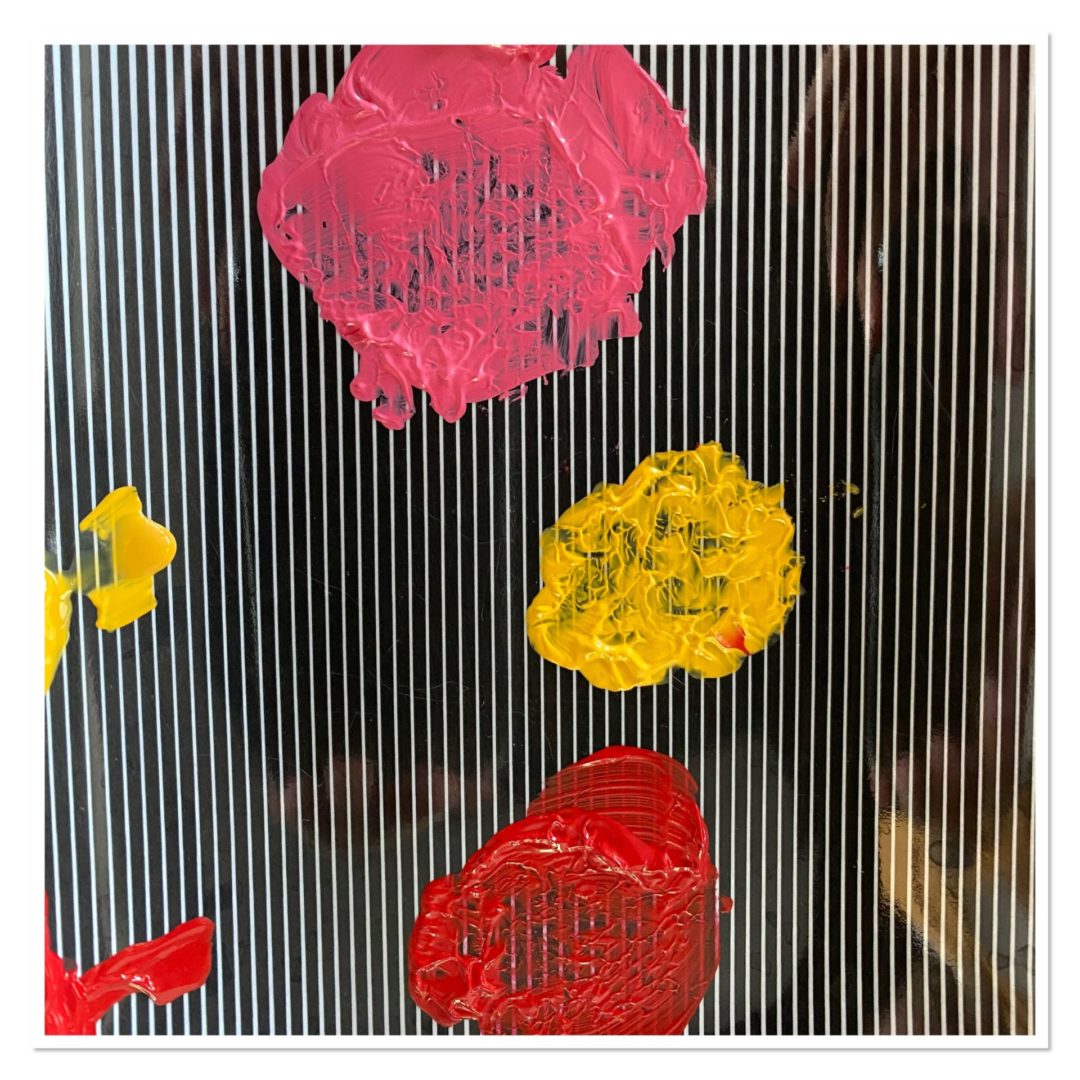
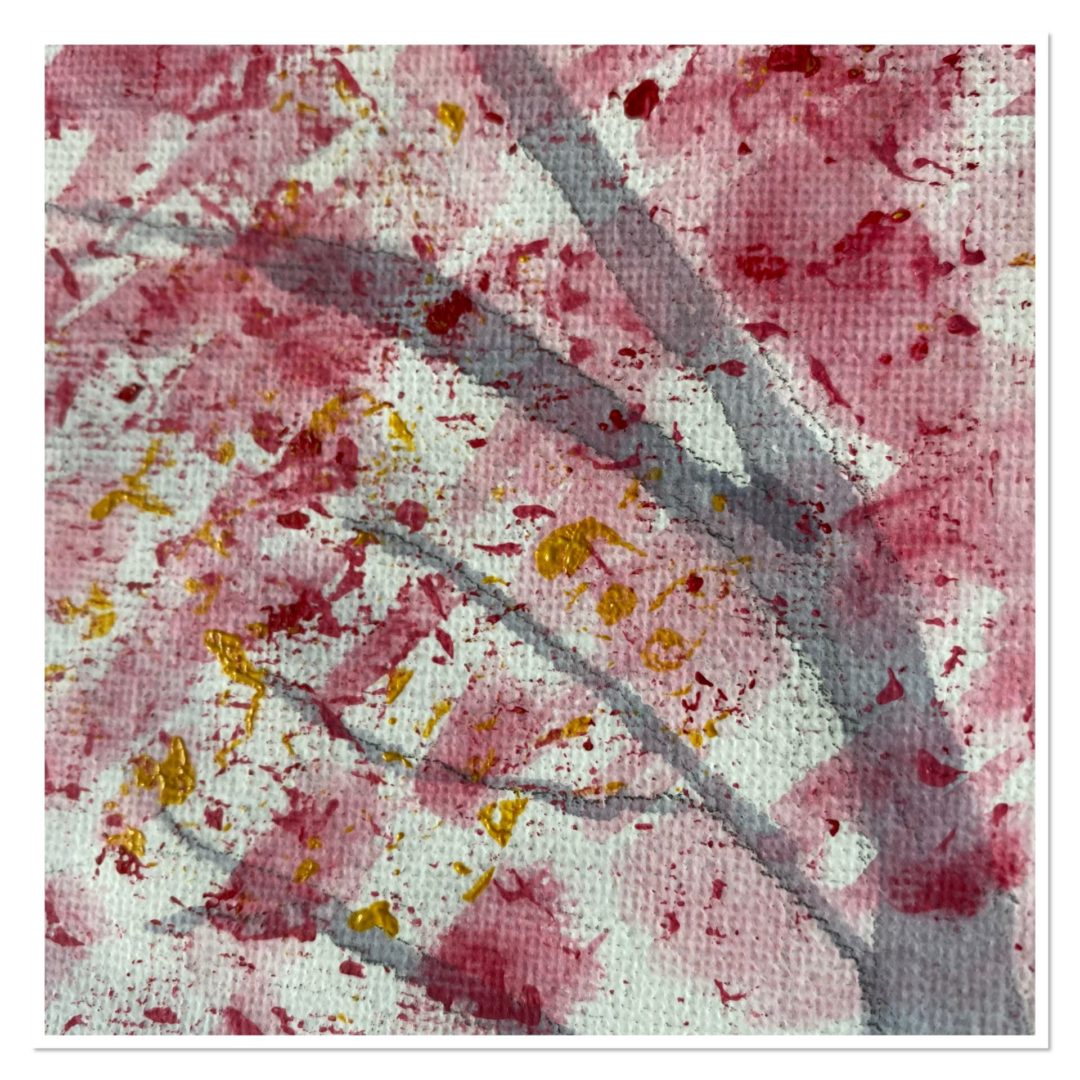
You’ll need three colours for the blossom – red, rose and yellow. You can easily mix the rose colour by combining white and red paint until you have a shade you like.
Step 4
Get your piece of wax paper and scrunch it up. Then, dip it into the rose paint.
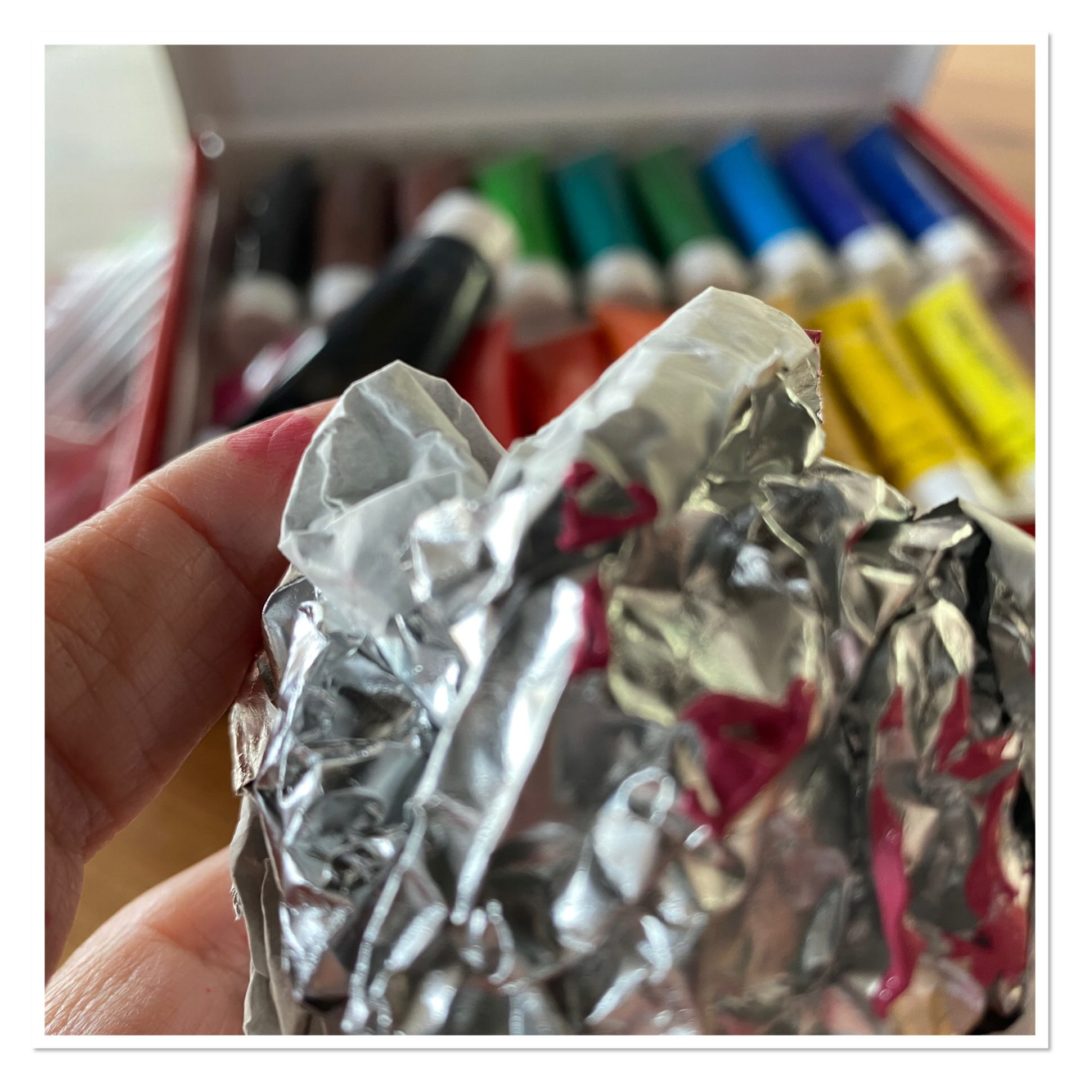
Step 5
Print rose blossoms on the tree using the scrunched ball. Press gently to give an even texture, and print a few times across the paper.
Step 6
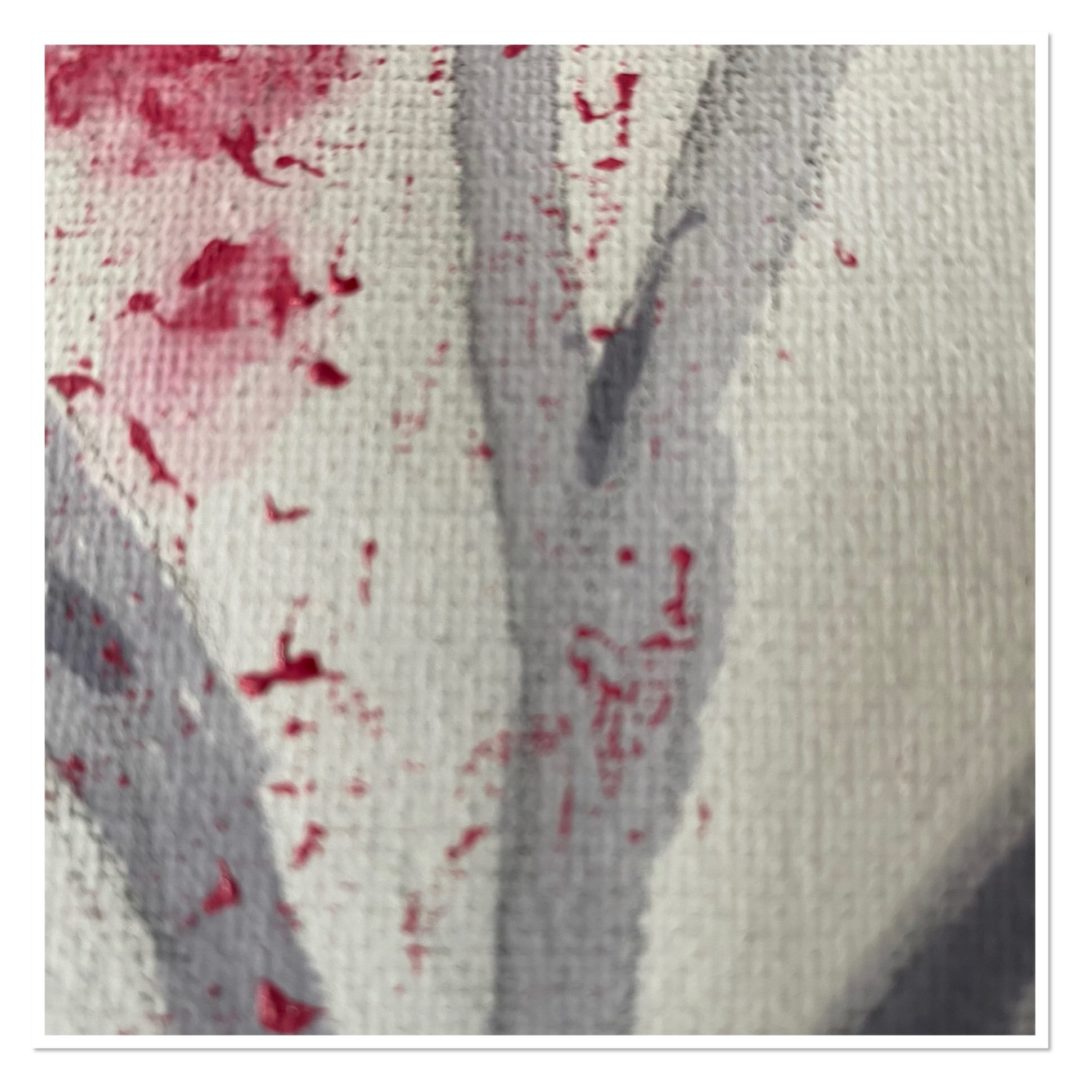
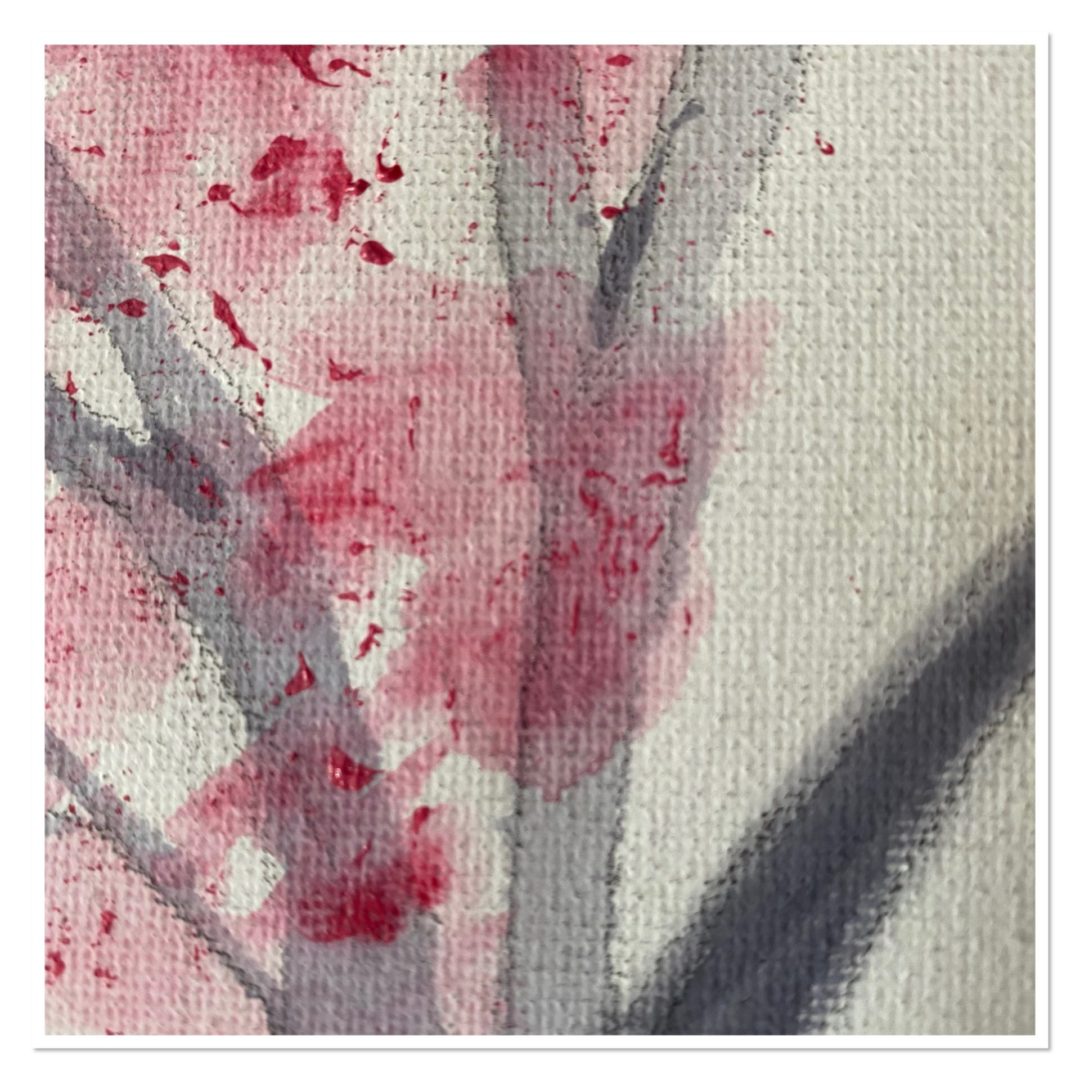
Dip the paintbrush in water and use it to smudge the printed blossoms.
Step 7
Repeat the process with the red paint, printing red blossoms on top of the rose ones.

You can also print red blossoms on the ground using the scrunched ball. This will give your painting a bit more depth and context!
Step 8
Finally, repeat the process with your yellow paint to add some yellow blossoms too!
Step 9
As a finishing touch, use a weak solution of black ink with water to re-define some of the tree’s branches. If you don’t have ink, you can simply use a pen!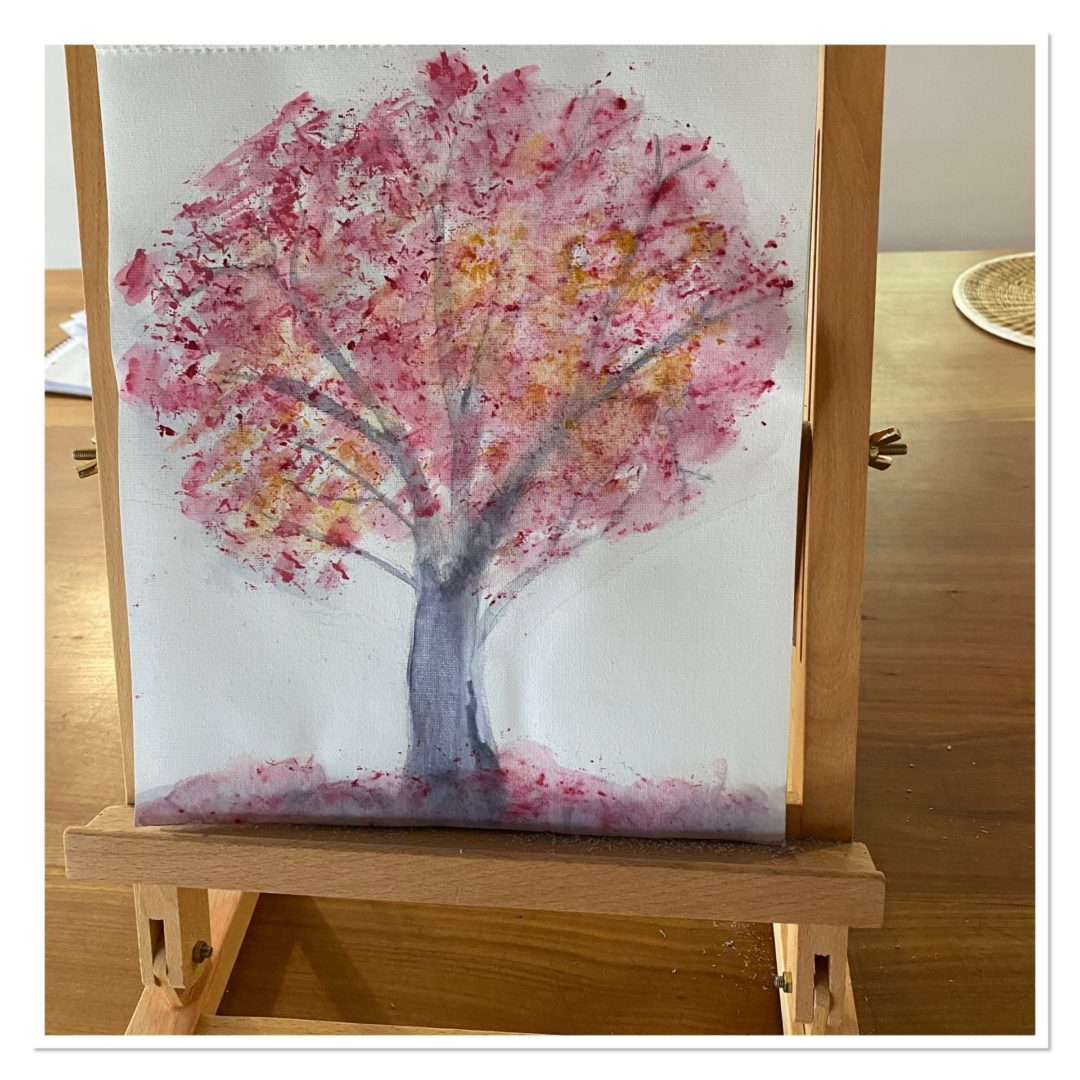
Congratulations! You’ve made a beautiful tree that will bring some life and some nature to your time in isolation.
 13/01/2020
 Local Insights